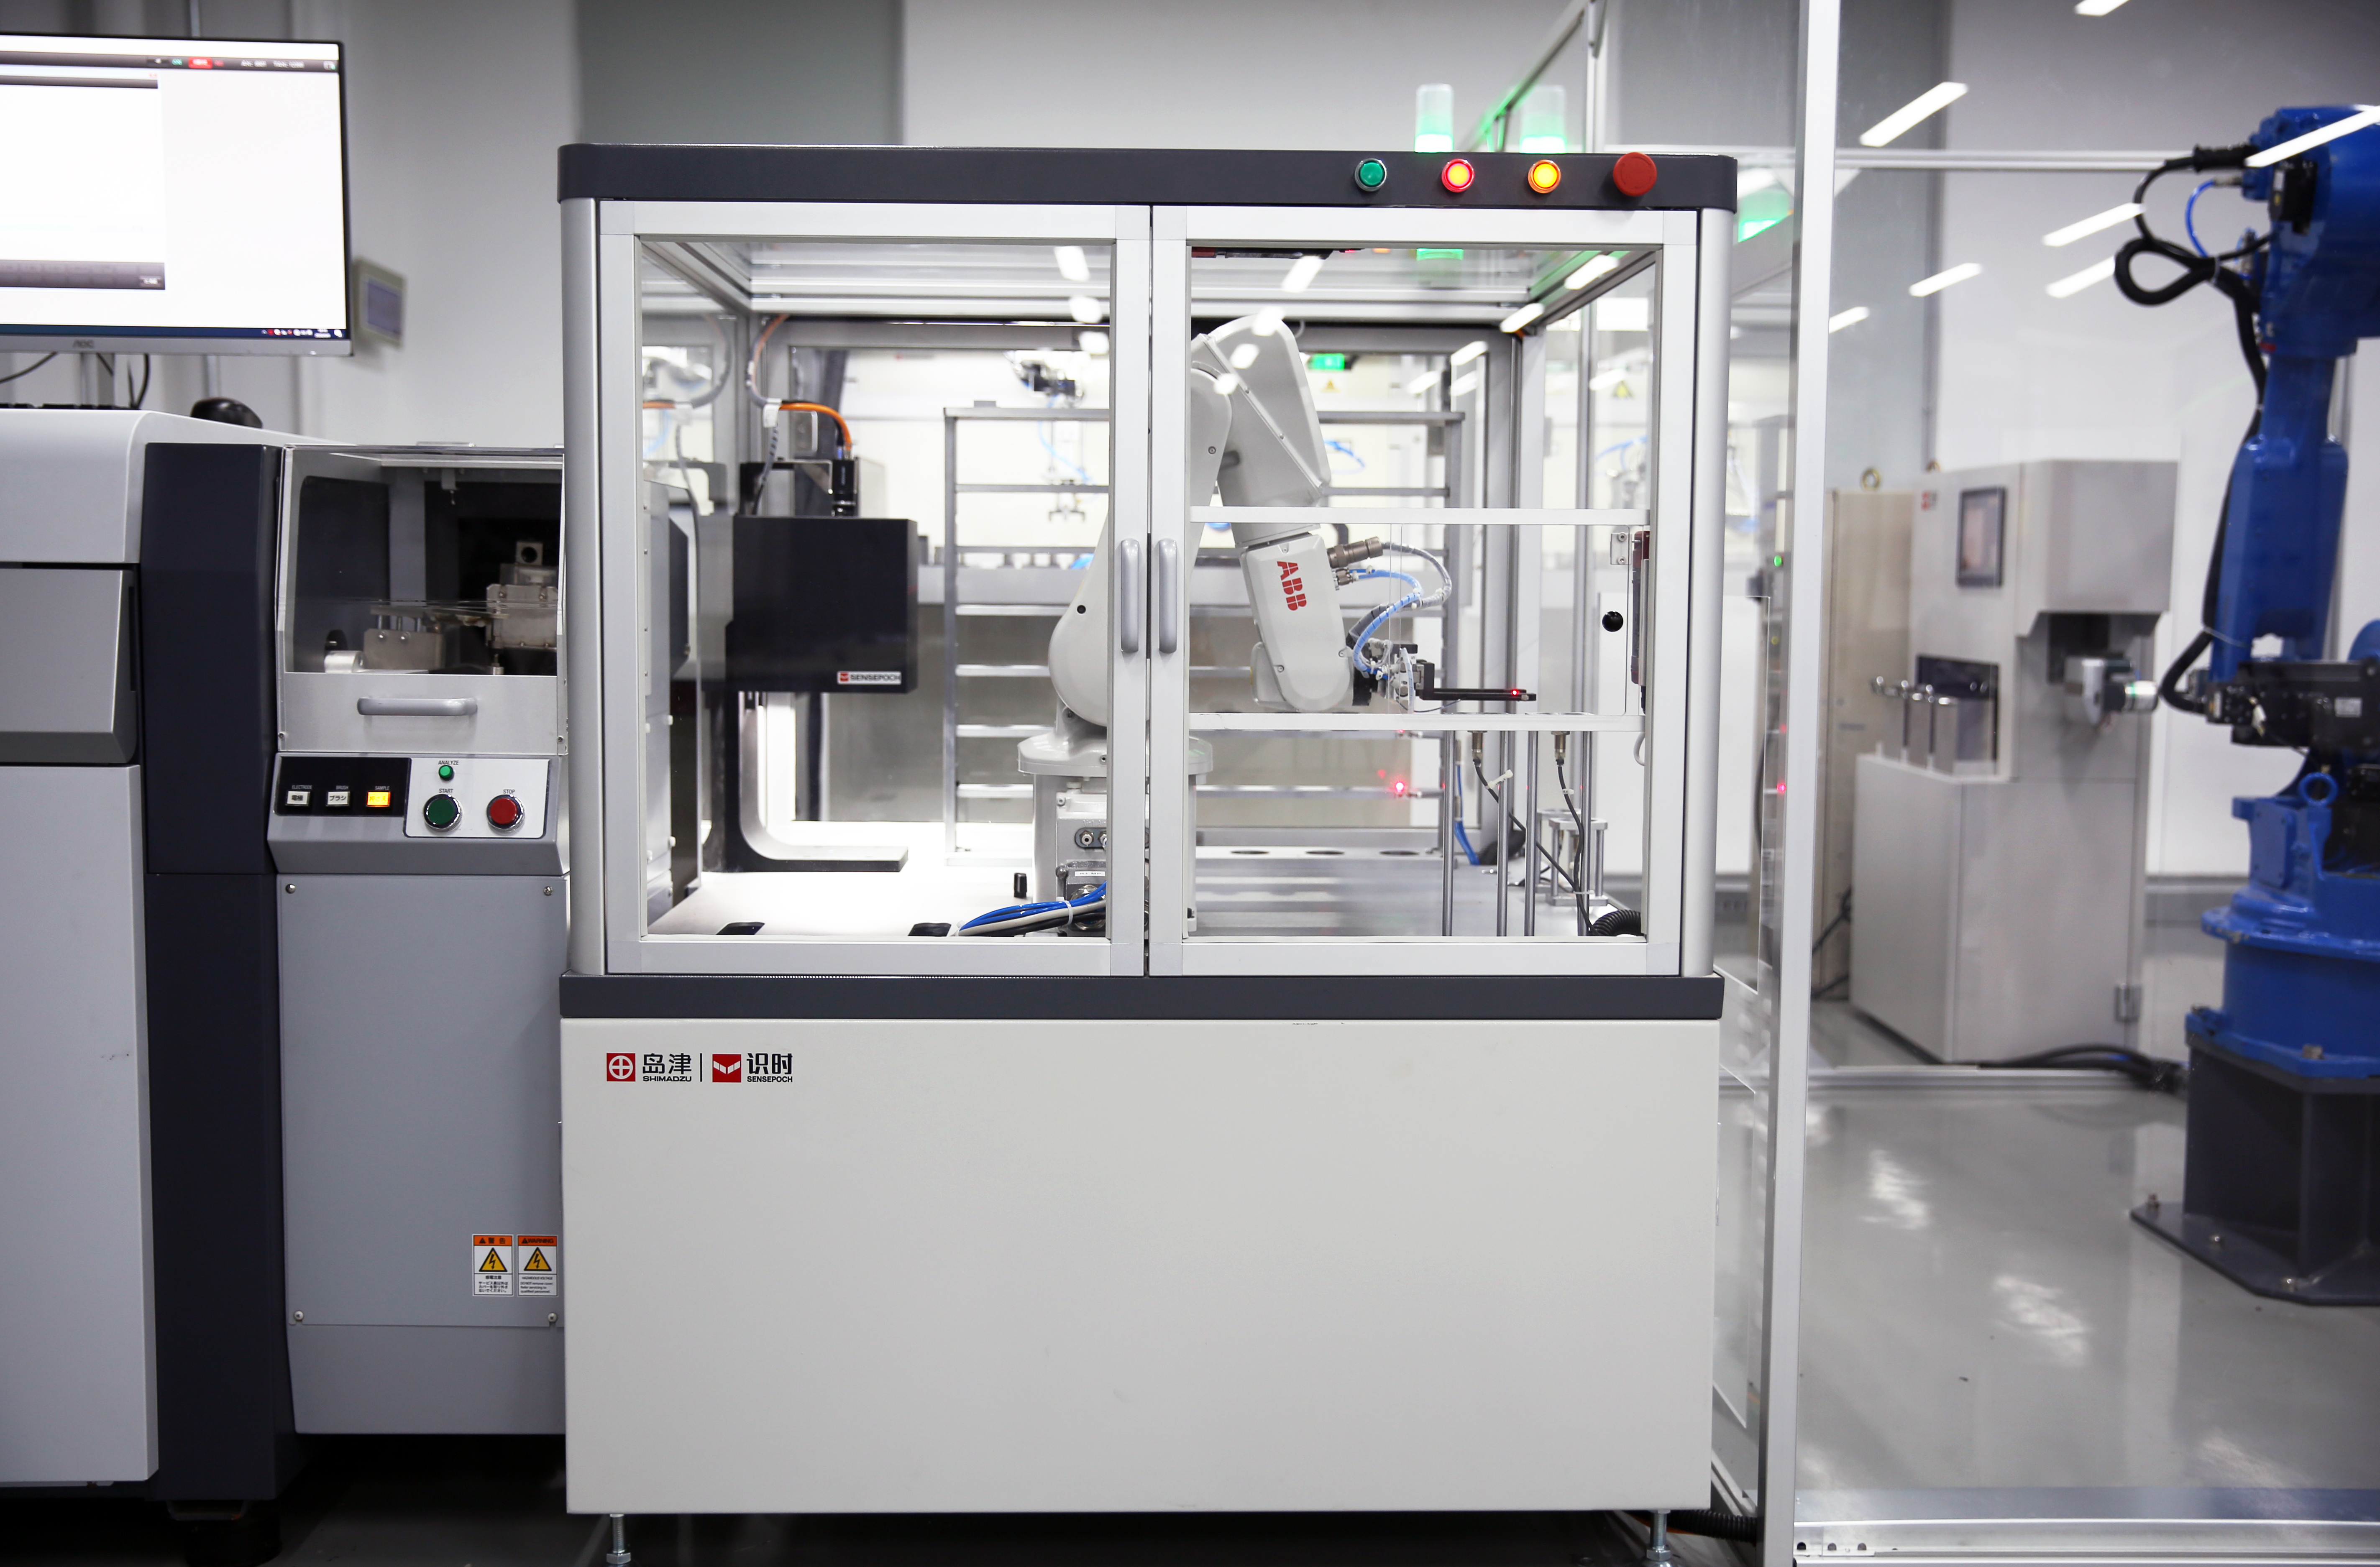
A spectrophotometer is a precision analytical instrument that measures how much light a chemical substance absorbs by measuring the intensity of light as a beam passes through the sample solution. Proper calibration of your spectrophotometer ensures accurate and reliable measurements, making it an essential procedure for laboratories across industries including pharmaceutical, environmental, food safety, and research applications. Understanding the calibration process helps maintain measurement integrity and extends the operational lifespan of your analytical equipment.

Regular calibration of spectrophotometric instruments prevents measurement drift and ensures compliance with analytical standards. Modern laboratories depend on accurate spectrophotometric data for quality control, regulatory compliance, and research validity. This comprehensive guide provides detailed instructions for calibrating your spectrophotometer while addressing common challenges and best practices that laboratory professionals encounter during routine maintenance procedures.
Understanding Spectrophotometer Calibration Fundamentals
Basic Calibration Principles
The calibration process for a spectrophotometer involves establishing a reference baseline against known standards to ensure measurement accuracy. This procedure typically requires adjusting the instrument to read zero absorbance with a blank solution and verifying response linearity across the working range. Understanding these fundamental principles helps operators recognize when calibration adjustments are necessary and interpret calibration results effectively.
Spectrophotometer calibration relies on the Beer-Lambert Law, which describes the linear relationship between absorbance and concentration. This mathematical relationship forms the foundation for quantitative analysis using spectrophotometric methods. Proper calibration ensures that your instrument accurately follows this linear relationship within the specified measurement range, providing reliable data for analytical applications.
Calibration Standards and Reference Materials
Selecting appropriate calibration standards is crucial for achieving accurate spectrophotometer performance. Certified reference materials with known optical properties provide traceable calibration points across different wavelengths. These standards should be stored properly and replaced according to manufacturer recommendations to maintain calibration validity throughout their specified shelf life.
Common calibration standards include neutral density filters, holmium oxide solutions for wavelength accuracy, and potassium dichromate solutions for photometric accuracy verification. Each standard serves a specific purpose in the calibration process, and understanding their applications helps ensure comprehensive instrument verification. Regular verification using these standards helps identify potential instrument drift before it affects analytical results.
Pre-Calibration Preparation Steps
Environmental Considerations
Environmental conditions significantly impact spectrophotometer performance and calibration stability. Temperature fluctuations can affect optical components and electronic systems, while humidity variations may cause condensation on optical surfaces. Establishing controlled environmental conditions before beginning calibration procedures ensures optimal instrument performance and calibration accuracy throughout the process.
Most spectrophotometer manufacturers specify operating temperature ranges between 15-30°C with relative humidity below 80%. Allowing sufficient warm-up time, typically 30-60 minutes depending on the instrument model, ensures thermal equilibrium of optical and electronic components. This warm-up period is essential for achieving stable baseline readings and accurate calibration results.
Instrument Inspection and Cleaning
Visual inspection of optical components should precede every calibration procedure. Check for dust, fingerprints, or other contamination on sample compartment windows, cuvette holders, and light source housings. Clean optical surfaces using appropriate solvents and lint-free materials according to manufacturer specifications to prevent measurement errors during calibration.
Verify that all mechanical components operate smoothly, including sample compartment doors, wavelength selectors, and cuvette positioning mechanisms. Replace worn or damaged components before proceeding with calibration to ensure optimal instrument performance. Document any maintenance activities performed during pre-calibration inspection for future reference and quality assurance purposes.
Wavelength Calibration Procedures
Holmium Oxide Wavelength Standards
Wavelength accuracy calibration typically employs holmium oxide standards that exhibit sharp absorption peaks at specific wavelengths. These reference materials provide precise wavelength markers for verifying and adjusting spectrophotometer wavelength accuracy across the ultraviolet and visible spectrum. The distinctive absorption pattern of holmium oxide makes it an ideal reference for wavelength calibration procedures.
Begin wavelength calibration by installing the holmium oxide standard in the sample compartment and scanning across the specified wavelength range. Compare observed peak positions with certified values and calculate wavelength deviations at each reference point. Most modern spectrophotometers allow automatic wavelength correction based on these measured deviations, streamlining the calibration process while maintaining accuracy.
Mercury Vapor Lamp Calibration
Mercury vapor lamps provide another reliable method for wavelength calibration, particularly in the ultraviolet region where holmium oxide absorption may be less pronounced. The characteristic emission lines of mercury vapor create sharp spectral features that serve as precise wavelength references for spectrophotometer calibration across multiple wavelengths simultaneously.
When using mercury vapor lamp calibration, ensure proper lamp stabilization before beginning measurements. Record emission peak positions and compare with established wavelength values for mercury emission lines. Document any wavelength corrections applied during this calibration step for quality assurance and regulatory compliance purposes.
Photometric Accuracy Calibration
Neutral Density Filter Standards
Photometric accuracy verification employs neutral density filters with certified transmittance values across the working wavelength range. These precision optical filters provide known absorbance values for verifying spectrophotometer response linearity and accuracy. Select filters that cover the typical working range of your analytical applications to ensure comprehensive photometric calibration.
Install each neutral density filter sequentially and record absorbance readings at specified wavelengths. Compare measured values with certified filter specifications and calculate percentage errors for each measurement point. Acceptable accuracy typically falls within ±1-2% of certified values, depending on instrument specifications and analytical requirements.
Solution-Based Photometric Standards
Potassium dichromate solutions provide an alternative method for photometric accuracy verification, particularly useful for laboratories that prefer liquid standards over solid filters. These solutions offer well-characterized absorption spectra with known absorbance values at multiple wavelengths, enabling comprehensive photometric calibration across the ultraviolet and visible regions.
Prepare potassium dichromate solutions according to established procedures using high-purity reagents and volumetric glassware. Measure absorbance values at specified wavelengths and compare results with theoretical or certified values. This approach provides additional verification of spectrophotometer performance using solution-phase standards that closely match typical analytical samples.
Baseline and Zero Calibration
Blank Solution Preparation
Proper blank solution preparation forms the foundation for accurate spectrophotometer measurements. The blank should contain all sample matrix components except the analyte of interest, ensuring that background absorbance is properly subtracted from sample readings. Use the same solvent, pH conditions, and chemical additives that will be present in actual analytical samples.
Fill matched cuvettes with blank solution and allow equilibration to measurement temperature before proceeding with zero calibration. Handle cuvettes carefully to avoid fingerprints or scratches that could affect optical properties. Clean cuvette surfaces with appropriate solvents and lint-free tissues immediately before use to ensure optimal optical clarity.
Dark Current and Stray Light Correction
Dark current calibration involves measuring instrument response with no light reaching the detector, typically accomplished by blocking the light path or turning off the light source. This measurement establishes the electronic baseline for subsequent absorbance calculations and helps identify detector noise or electronic drift that could affect measurement accuracy.
Stray light correction addresses unwanted light that reaches the detector through alternative optical paths, potentially causing measurement errors at high absorbance levels. Modern spectrophotometers incorporate automated stray light correction algorithms, but manual verification using appropriate filters or solutions helps ensure optimal performance across the entire measurement range.
Calibration Verification and Documentation
Performance Testing Procedures
After completing calibration adjustments, perform comprehensive performance testing to verify instrument accuracy and precision. This testing should include wavelength accuracy verification, photometric accuracy assessment, and baseline stability evaluation across the working wavelength range. Document all test results and compare with established performance criteria for your specific analytical applications.
Repeatability testing involves multiple measurements of the same standard solution to assess measurement precision. Calculate standard deviation and relative standard deviation values to quantify measurement variability and ensure compliance with analytical method requirements. This data provides objective evidence of spectrophotometer performance following calibration procedures.
Quality Assurance Documentation
Maintain detailed records of all calibration activities, including standards used, environmental conditions, calibration adjustments performed, and performance test results. This documentation supports regulatory compliance, quality assurance programs, and troubleshooting activities when analytical problems arise. Organize calibration records chronologically to track instrument performance trends over time.
Include calibration certificates for reference standards, environmental monitoring data, and operator identification in calibration documentation. This comprehensive record-keeping approach ensures traceability and supports audit activities required by quality management systems. Regular review of calibration documentation helps identify potential issues before they affect analytical results.
Troubleshooting Common Calibration Issues
Wavelength Accuracy Problems
Wavelength accuracy issues often manifest as systematic errors in peak position measurements or poor correlation between observed and expected absorption maxima. These problems may result from mechanical wear in wavelength selection mechanisms, optical component degradation, or electronic drift in wavelength control systems. Systematic investigation of potential causes helps identify appropriate corrective actions.
When wavelength accuracy problems persist after standard calibration procedures, consider environmental factors such as temperature fluctuations or mechanical vibrations that could affect optical alignment. Professional service may be required for complex wavelength accuracy issues involving internal optical component replacement or major mechanical adjustments beyond routine calibration scope.
Photometric Accuracy Deviations
Poor photometric accuracy typically appears as consistent high or low readings compared to certified standard values. Potential causes include detector degradation, light source instability, or optical component contamination affecting light transmission through the measurement system. Systematic evaluation of each optical component helps isolate the source of photometric accuracy problems.
Verify that calibration standards are within their specified shelf life and have been stored under appropriate conditions. Expired or improperly stored standards can produce erroneous calibration results that appear as instrument problems. Replace questionable standards and repeat calibration procedures to confirm whether accuracy issues persist with fresh reference materials.
Maintenance and Calibration Scheduling
Routine Calibration Frequency
Establish calibration schedules based on instrument usage, analytical requirements, and manufacturer recommendations. High-throughput laboratories may require daily or weekly calibration verification, while research applications with less frequent use might employ monthly or quarterly calibration schedules. Consider critical analytical applications that require more frequent calibration to ensure measurement reliability.
Environmental factors and sample types also influence optimal calibration frequency. Harsh environmental conditions or corrosive samples may necessitate more frequent calibration verification to maintain measurement accuracy. Monitor instrument performance trends to optimize calibration scheduling while ensuring analytical data quality meets established requirements.
Preventive Maintenance Integration
Coordinate spectrophotometer calibration with routine preventive maintenance activities to maximize instrument uptime and performance. Replace consumable components such as lamps, filters, or electronic components according to manufacturer recommendations during scheduled maintenance windows. This integrated approach minimizes operational disruptions while ensuring optimal instrument performance.
Document maintenance activities performed in conjunction with calibration procedures to maintain comprehensive service records. This documentation supports warranty claims, regulatory compliance, and long-term instrument management decisions. Regular review of maintenance and calibration records helps identify components requiring replacement before failure occurs.
Advanced Calibration Techniques
Multi-Point Calibration Strategies
Multi-point calibration employs multiple standard concentrations to establish comprehensive calibration curves across the analytical working range. This approach provides superior accuracy compared to single-point calibration methods, particularly for quantitative analytical applications requiring precise concentration measurements. Select calibration points that bracket the expected sample concentration range while providing adequate curve definition.
Evaluate calibration curve linearity using correlation coefficient analysis and residual plot examination. Poor linearity may indicate inappropriate calibration range selection, standard preparation errors, or instrument performance issues requiring investigation. Adjust calibration strategies based on analytical requirements and observed instrument performance characteristics.
Matrix-Matched Calibration Approaches
Matrix-matched calibration uses standards prepared in synthetic or actual sample matrices to account for potential interference effects that could affect measurement accuracy. This approach is particularly valuable for complex sample matrices where background absorbance or chemical interactions might influence analytical results. Consider matrix effects when developing calibration strategies for challenging analytical applications.
Prepare matrix-matched standards using representative sample materials with known analyte concentrations added through standard addition techniques. This approach accounts for matrix effects while providing traceable calibration references for quantitative analysis. Compare results obtained with matrix-matched and conventional calibration approaches to assess the significance of matrix effects in your analytical system.
FAQ
How often should I calibrate my spectrophotometer
Calibration frequency depends on usage patterns, analytical requirements, and environmental conditions. Most laboratories perform basic calibration verification daily or weekly for routine use, with comprehensive calibration monthly or quarterly. Critical applications may require more frequent verification, while research instruments used intermittently might need less frequent calibration. Monitor instrument performance trends to optimize calibration scheduling for your specific situation.
What are the most common causes of calibration drift
Common causes of spectrophotometer calibration drift include light source aging, detector degradation, optical component contamination, and environmental temperature fluctuations. Electronic component aging, mechanical wear in wavelength selection systems, and improper handling of calibration standards also contribute to calibration instability. Regular maintenance and proper environmental control help minimize calibration drift and extend intervals between major calibration adjustments.
Can I use expired calibration standards for instrument verification
Using expired calibration standards is not recommended as their optical properties may have changed beyond specified tolerances, leading to inaccurate calibration results. Expired standards can produce misleading performance assessments that mask actual instrument problems or create false failure indications. Replace expired standards with fresh certified reference materials and verify that storage conditions meet manufacturer specifications to ensure calibration accuracy.
What environmental conditions are required for accurate spectrophotometer calibration
Optimal environmental conditions for spectrophotometer calibration include stable temperature between 15-30°C, relative humidity below 80%, and minimal mechanical vibration. Avoid areas with direct sunlight, air conditioning drafts, or significant temperature fluctuations that could affect optical components or electronic stability. Allow adequate warm-up time before calibration to achieve thermal equilibrium and ensure stable baseline performance throughout the calibration procedure.
Table of Contents
- Understanding Spectrophotometer Calibration Fundamentals
- Pre-Calibration Preparation Steps
- Wavelength Calibration Procedures
- Photometric Accuracy Calibration
- Baseline and Zero Calibration
- Calibration Verification and Documentation
- Troubleshooting Common Calibration Issues
- Maintenance and Calibration Scheduling
- Advanced Calibration Techniques
- FAQ


